Planning a home lift involves more than choosing a stylish cabin and pressing a button. The electrical system must support safe starting, smooth travel, reliable controls, lighting, alarms, and emergency lowering. Many homeowners ask, “what are the electricity requirements for a home lift?” The honest answer depends on the lift type, motor design, travel height, rated load, and local supply.
This guide introduces seven practical tips for assessing those needs before installation. It considers single-phase and three-phase power, dedicated circuits, breaker sizing, earthing, surge protection, standby batteries, and safe isolation. A lift may appear modest, yet its motor can create a brief startup demand that affects household circuits. Small details matter. An experienced lift contractor should review the manufacturer’s technical sheet with a qualified electrician. Guesswork is risky. A circuit that works during testing may struggle when the lift carries passengers, operates repeatedly, or shares power with heating equipment.
Real projects also reveal uncomfortable gaps. Homeowners sometimes focus on running cost while overlooking ventilation, emergency lighting, or battery replacement. Others assume a standard socket is sufficient because the lift uses little energy between trips. That assumption can be wrong. Requirements should be checked at the design stage, then verified during commissioning and routine maintenance. Professional calculations, documented test results, and clear instructions create a more dependable installation. No single figure suits every home lift. The safest decision comes from matching the equipment data, building supply, and qualified local advice.
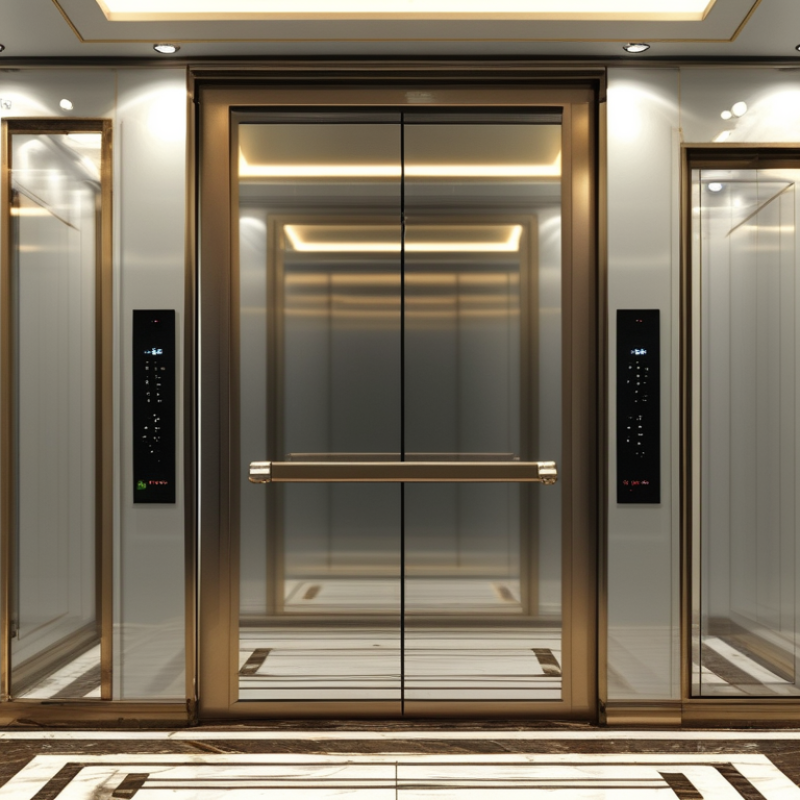
7 Tips for Home Lift Electricity Requirements
Understanding the Basic Electrical Needs of a Home Lift
A home lift usually needs a dedicated electrical circuit, not a shared outlet near the laundry area. The exact voltage and current depend on the lift motor, travel height, and control system. Check the manufacturer’s technical sheet before any wiring begins. A qualified electrician should match the circuit rating with the building’s supply capacity. Guessing here can cause nuisance trips or overheating.
Allow space for a clearly marked isolator switch. It should be reachable without entering a dangerous area. Proper grounding is essential, especially around metal rails, doors, and the lift cabin. Residual-current protection can reduce shock risks, while suitable overcurrent protection helps protect the cables. Local electrical codes may require both. Requirements differ between countries and even older homes.
Power quality also matters. Sensitive control boards may react badly to voltage drops during heavy appliance use. An electrician can measure the supply under load and check cable size, earthing continuity, and breaker coordination. A small backup supply may keep the cabin lights or alarm working, but it may not operate the lift itself. I once underestimated the importance of cable routing; a technically correct circuit can still become troublesome when cables run through damp or crowded spaces. Leave inspection access, label every switch, and test the system after installation. Safety details are easy to overlook.
| Tip | Electrical Area | What to Check | Typical Residential Data | Practical Guidance |
|---|---|---|---|---|
| 1 | Identify the Supply Type | Confirm whether the property has a single-phase or three-phase electrical supply before selecting the lift system. |
Single-phase: 220–240 V AC Three-phase: 380–415 V AC |
Many residential lifts can be configured for single-phase power, but the required supply depends on the motor, drive system, rated load, and local electrical standards. |
| 2 | Estimate Running Power | Review the lift motor and controller rating instead of relying only on the lift’s rated load. |
Approximately 2.2–5.5 kW for many small residential systems |
Actual consumption varies with lift design, travel height, duty cycle, counterbalancing, speed, and whether the system uses a hydraulic or electric drive. |
| 3 | Provide a Dedicated Circuit | Use a dedicated final circuit for the lift equipment, separated from general lighting and socket circuits. |
Common protection range: 16–32 A subject to calculated load and local code |
The circuit rating, conductor size, and protective device must be selected by a qualified electrician based on cable length, installation method, voltage drop, and manufacturer instructions. |
| 4 | Allow for Starting Current | Account for temporary inrush or starting current when the motor begins operation. |
Starting current may exceed running current especially with direct-on-line motors |
Soft starters or variable-frequency drives can reduce starting stress and help prevent nuisance tripping, but compatibility must be confirmed with the lift control system. |
| 5 | Install Essential Protection | Include overcurrent protection, short-circuit protection, earth-fault protection, and a suitable means of isolation. |
RCD/RCBO commonly 30 mA where required by local regulations |
Protection requirements differ by country and equipment type. The lift should be connected to a reliable protective earth and tested before commissioning. |
| 6 | Plan Emergency Power Functions | Provide a safe method for emergency lighting, alarm operation, door release, and passenger rescue during a power failure. | Battery backup commonly supports control and rescue functions | Backup power does not necessarily operate the lift for normal service. Its capacity and required functions should comply with the applicable lift safety standard. |
| 7 | Verify Installation and Compliance | Have the completed installation inspected, tested, and certified by qualified electrical and lift professionals. |
Test before first use and after significant electrical modifications |
Check insulation resistance, earth continuity, polarity, RCD operation, emergency circuits, isolation, and voltage levels. Local building, wiring, and lift regulations always take priority. |
A dedicated circuit separates the lift from lights, ovens, heaters, and general sockets. This reduces nuisance trips during motor startup. Do not guess.
Check the lift’s technical information for voltage, phase, running current, and starting load. A qualified electrician should compare these needs with the building’s supply capacity.
Protection may include a correctly rated breaker, grounding, and residual-current protection. The equipment and local rules determine the final arrangement. Convenient ratings are not always suitable.
Install a clearly labelled isolator where it remains easy to reach. It should not require entry into a hazardous area. Keep the panel accessible.
Undersized cables can overheat or cause voltage loss. Long, damp, or crowded routes create additional problems. Leave inspection access and check earthing continuity.
Usage depends on motor size, travel height, passenger weight, and daily trips. Record journeys for one week and check running watts. Startup demand may surprise you.
A small battery may support lights, controls, or alarms. It may not move the lift safely. Backup capacity must handle startup demand, not just battery size.
Test breaker coordination, cable sizing, grounding, voltage under load, alarms, and emergency lowering. Local inspection or certification may be required. Recheck everything.
Understanding what are the electricity requirements for a home lift is an important step before installation. This guide explains how to assess the lift’s basic electrical needs, including the required power supply, voltage, phase configuration, and starting current. It also highlights the importance of confirming whether the existing household electrical system can support the lift safely and reliably.
The article outlines how to plan a dedicated circuit with suitable switches, breakers, grounding, and protection against overloads or power fluctuations. It also discusses ways to estimate energy consumption during regular use and reviews practical backup power options for essential operation during outages. Finally, readers will learn how to prepare for safe installation, professional inspection, routine testing, and ongoing maintenance, helping ensure dependable performance and long-term electrical safety.

 Keg Lift